Designing parts for injection molding

Designing parts for injection molding requires a detailed understanding of the process, materials, and design principles. This blog post aims to provide insights into creating efficient, manufacturable, and functional parts through injection molding, highlighting key considerations in the design phase.
Injection molding is a manufacturing process used to produce parts by injecting molten material into a mold. This process is ideal for mass production due to its high efficiency, repeatability, and ability to produce parts with complex geometries. However, successful injection molding begins with thoughtful design, as the initial design significantly impacts the manufacturability, functionality, and cost-effectiveness of the final product.
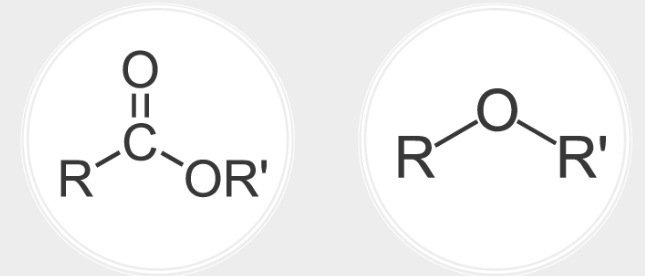
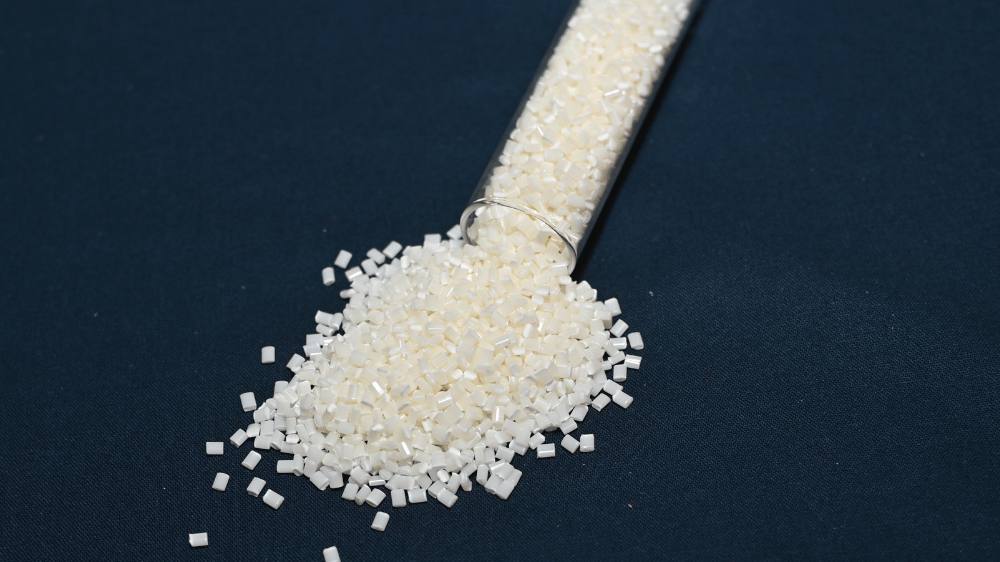
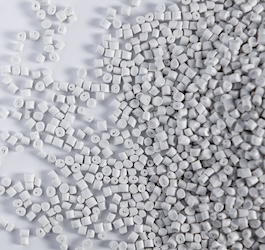
- Material Selection
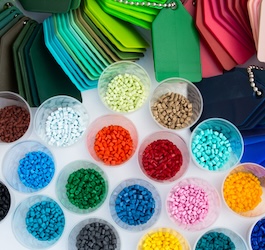
Material selection is critical in the design phase. The choice of material affects the part’s properties, such as strength, flexibility, and heat resistance. Designers must consider the application of the part and select a material that meets the required specifications. Additionally, different materials shrink at different rates upon cooling, so accounting for material-specific shrinkage rates is essential to achieve accurate part dimensions.
- Wall Thickness
Uniform wall thickness is a fundamental principle in injection molding design. Consistent thickness helps prevent issues like warping, sinking, and incomplete filling. It is advisable to design parts with the minimal necessary wall thickness to shorten cycle times and reduce material use, without compromising the part's structural integrity.
- Ribs and Gussets
To enhance part strength without increasing wall thickness, designers can incorporate ribs and gussets. These features provide additional support in critical areas, improving the part’s structural stability. However, it’s important to design ribs and gussets properly to avoid sink marks and other defects.
- Draft Angles
Incorporating draft angles in the design allows easier removal of the part from the mold. The lack of adequate draft can lead to part damage during ejection. The recommended draft angle depends on the part’s depth and surface finish but typically ranges from 1° to 2° for most applications.
- Gate Location
The gate is the point where molten plastic enters the mold cavity. Strategic gate placement is essential for optimal flow and to minimize visible marks on the final part. It should ensure uniform filling and minimize stress, which could lead to warping or shrinkage.
- Surface Finish
The desired surface finish should be considered early in the design process. Injection molds can be textured to impart various finishes on the part surface. However, high-gloss finishes require smoother molds, which can increase manufacturing costs.
Designing for injection molding is a complex process that requires a thorough understanding of both the limitations and capabilities of the technology. By considering material selection, wall thickness, structural supports, draft angles, gate location, and surface finish, designers can create parts that are not only functional and aesthetically pleasing but also cost-effective to manufacture. Early collaboration between designers, engineers, and mold manufacturers can further optimize the design for injection molding, ensuring the successful production of high-quality parts.